 |
| Photo Credit: Starlink |
Starlink is a satellite internet service that is developed by SpaceX. It is designed to provide high-speed, low-latency internet access to people in remote and underserved areas. Starlink is currently available in limited areas in the world, but it is expected to expand to more areas in the coming months and years.
In this article, we will walk you through the process of buying and setting up Starlink hardware. I will also provide some tips for troubleshooting common problems.
What is Starlink?
Starlink is a constellation of thousands of satellites that are being launched into orbit by SpaceX. These satellites provide high-speed, low-latency internet access to people all over the world.
Starlink is different from traditional satellite internet services in a few ways. First, Starlink uses a much larger constellation of satellites, which allows it to provide better coverage and more reliable service. Second, Starlink uses a new type of antenna that is much more efficient than traditional satellite antennas. This allows Starlink to provide faster speeds and lower latency than traditional satellite internet services.
How does Starlink work?
Starlink satellites orbit the Earth at a very low altitude, about 550 kilometers. This allows them to provide much faster speeds and lower latency than traditional satellite internet services, which orbit the Earth at much higher altitudes.
When you connect to Starlink, your device will communicate with the nearest Starlink satellite. The satellite will then forward your data to a ground station, which will then connect you to the internet.
Who can use Starlink?
Starlink is currently available in limited areas in the world. However, it is expected to expand to more areas in the coming months and years.
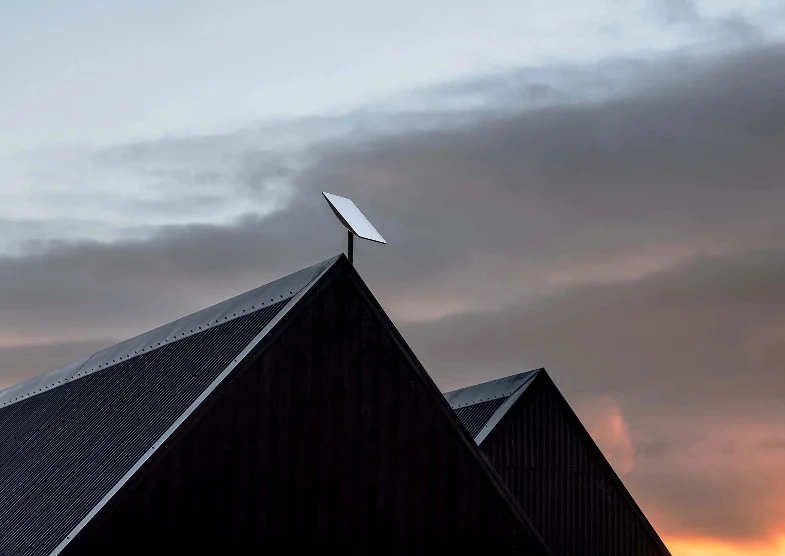
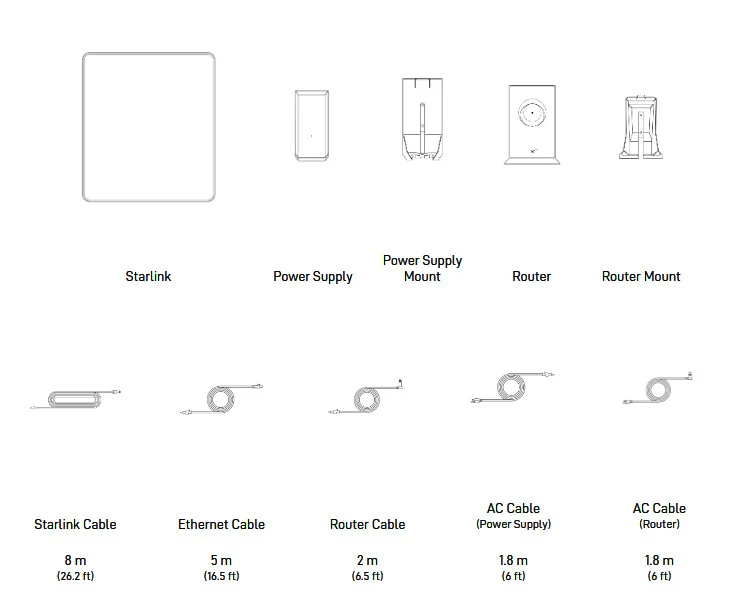
To use Starlink, you will need to have a clear view of the sky. This means that you cannot use Starlink if you live in a city with tall buildings or trees. You will also need to have a Starlink dish and router. The Starlink dish is about the size of a pizza and it needs to be mounted on a clear, unobstructed view of the sky. The router is used to connect your devices to the internet.
One-time Equipment Fee
 |
| A Starlink router (left) and dish (right). |
The one-time equipment fee for Starlink is $349. This fee covers the cost of the Starlink dish, router, and mounting tripod.
The one-time equipment fee can be paid in dollars. However, if you want to pay in a different currency, you may need to have a domiciliary account and a dollar card. The exchange rate for the one-time equipment fee is constantly fluctuating, so it is important to check the current exchange rate before you pay.
Monthly Subscription Fee
The monthly subscription fee for Starlink is $120. This fee covers the cost of bandwidth and data usage. The bandwidth is the amount of data that you can download and upload each month. The data usage is the amount of data that you actually use each month.
The monthly subscription fee is fixed, so it does not matter how much bandwidth or data usage you have. This is a good thing, because it means that you can be confident that you will not be overcharged.
How To Order Starlink
1. Visit Starlink Website here.
2. Confirm availability in your area by inputting your location.
3. Make Payment.
4. Wait for delivery.
What do you need to set up Starlink?
To set up Starlink, you will need the following:
1. A Starlink dish
2. A Starlink router
3. A clear location for your dish
4. A power source for your dish and router
Step 1: Find a Clear Location for Your Starlink Dish
The most important part of setting up Starlink is finding a clear location for your dish. The dish needs to have a clear view of the sky in order to connect to the Starlink satellites.
Here are some things to look for in a good location for your dish:
- A location that is free of trees, buildings, and other obstructions
- A location that is not in the shade
- A location that is not near any electric or magnetic fields
- You can use the Starlink app to test your location and see if it is clear enough for the dish.
Step 2: Mount Your Starlink Dish
Once you have found a clear location for your dish, you need to mount it. The Starlink dish comes with a mounting tripod that you can use to mount it on the ground.
If you are mounting the dish on a roof, you will need to purchase a separate mounting kit.
Step 3: Connect Your Starlink Router
The Starlink router connects to the dish and then to your devices. The router comes with a power cable and an Ethernet cable. You can connect the router to your devices using the Ethernet cable or you can connect to it wirelessly.
Step 4: Connect Your Devices to Starlink
Once the router is connected to the dish, you can connect your devices to it. You can connect your devices using the Ethernet cable or you can connect to it wirelessly.
If you are connecting your devices wirelessly, you will need to enter the Wi-Fi password that is printed on the back of the router.
Troubleshooting
If you are having problems setting up Starlink, there are a few things you can check:
- Make sure that the dish is in a clear location.
- Make sure that the router is connected to the dish and that it is powered.

